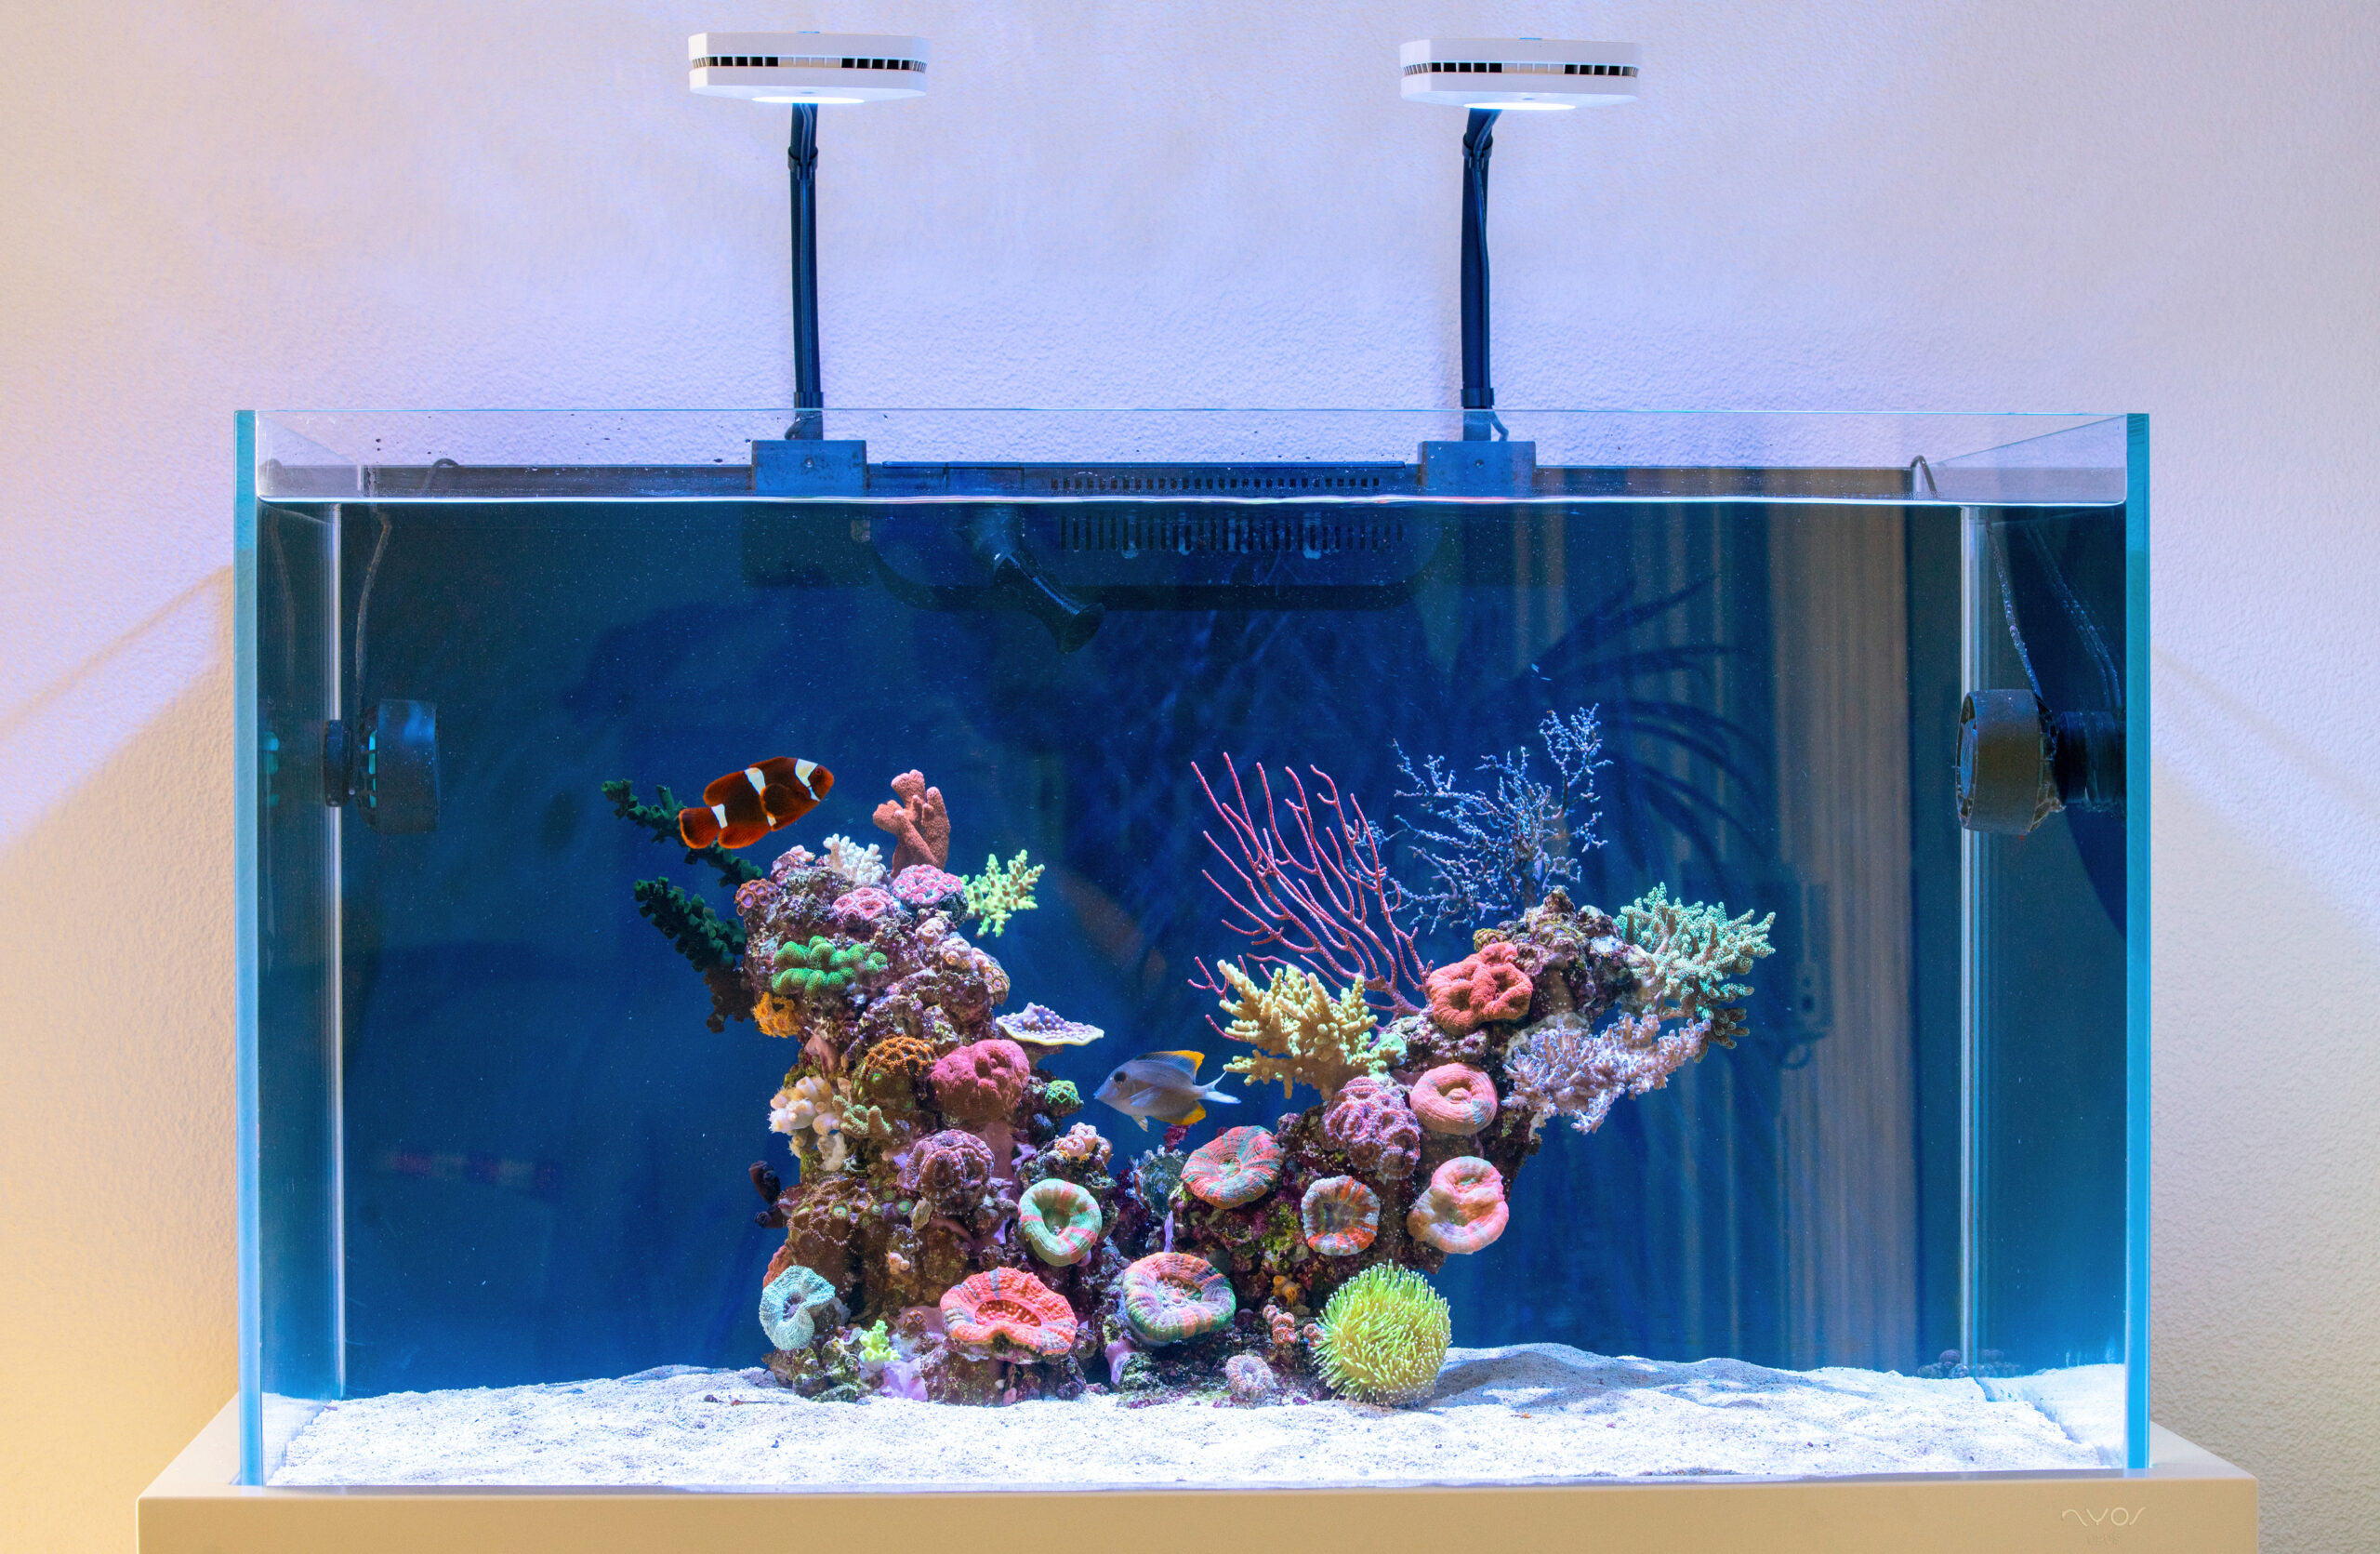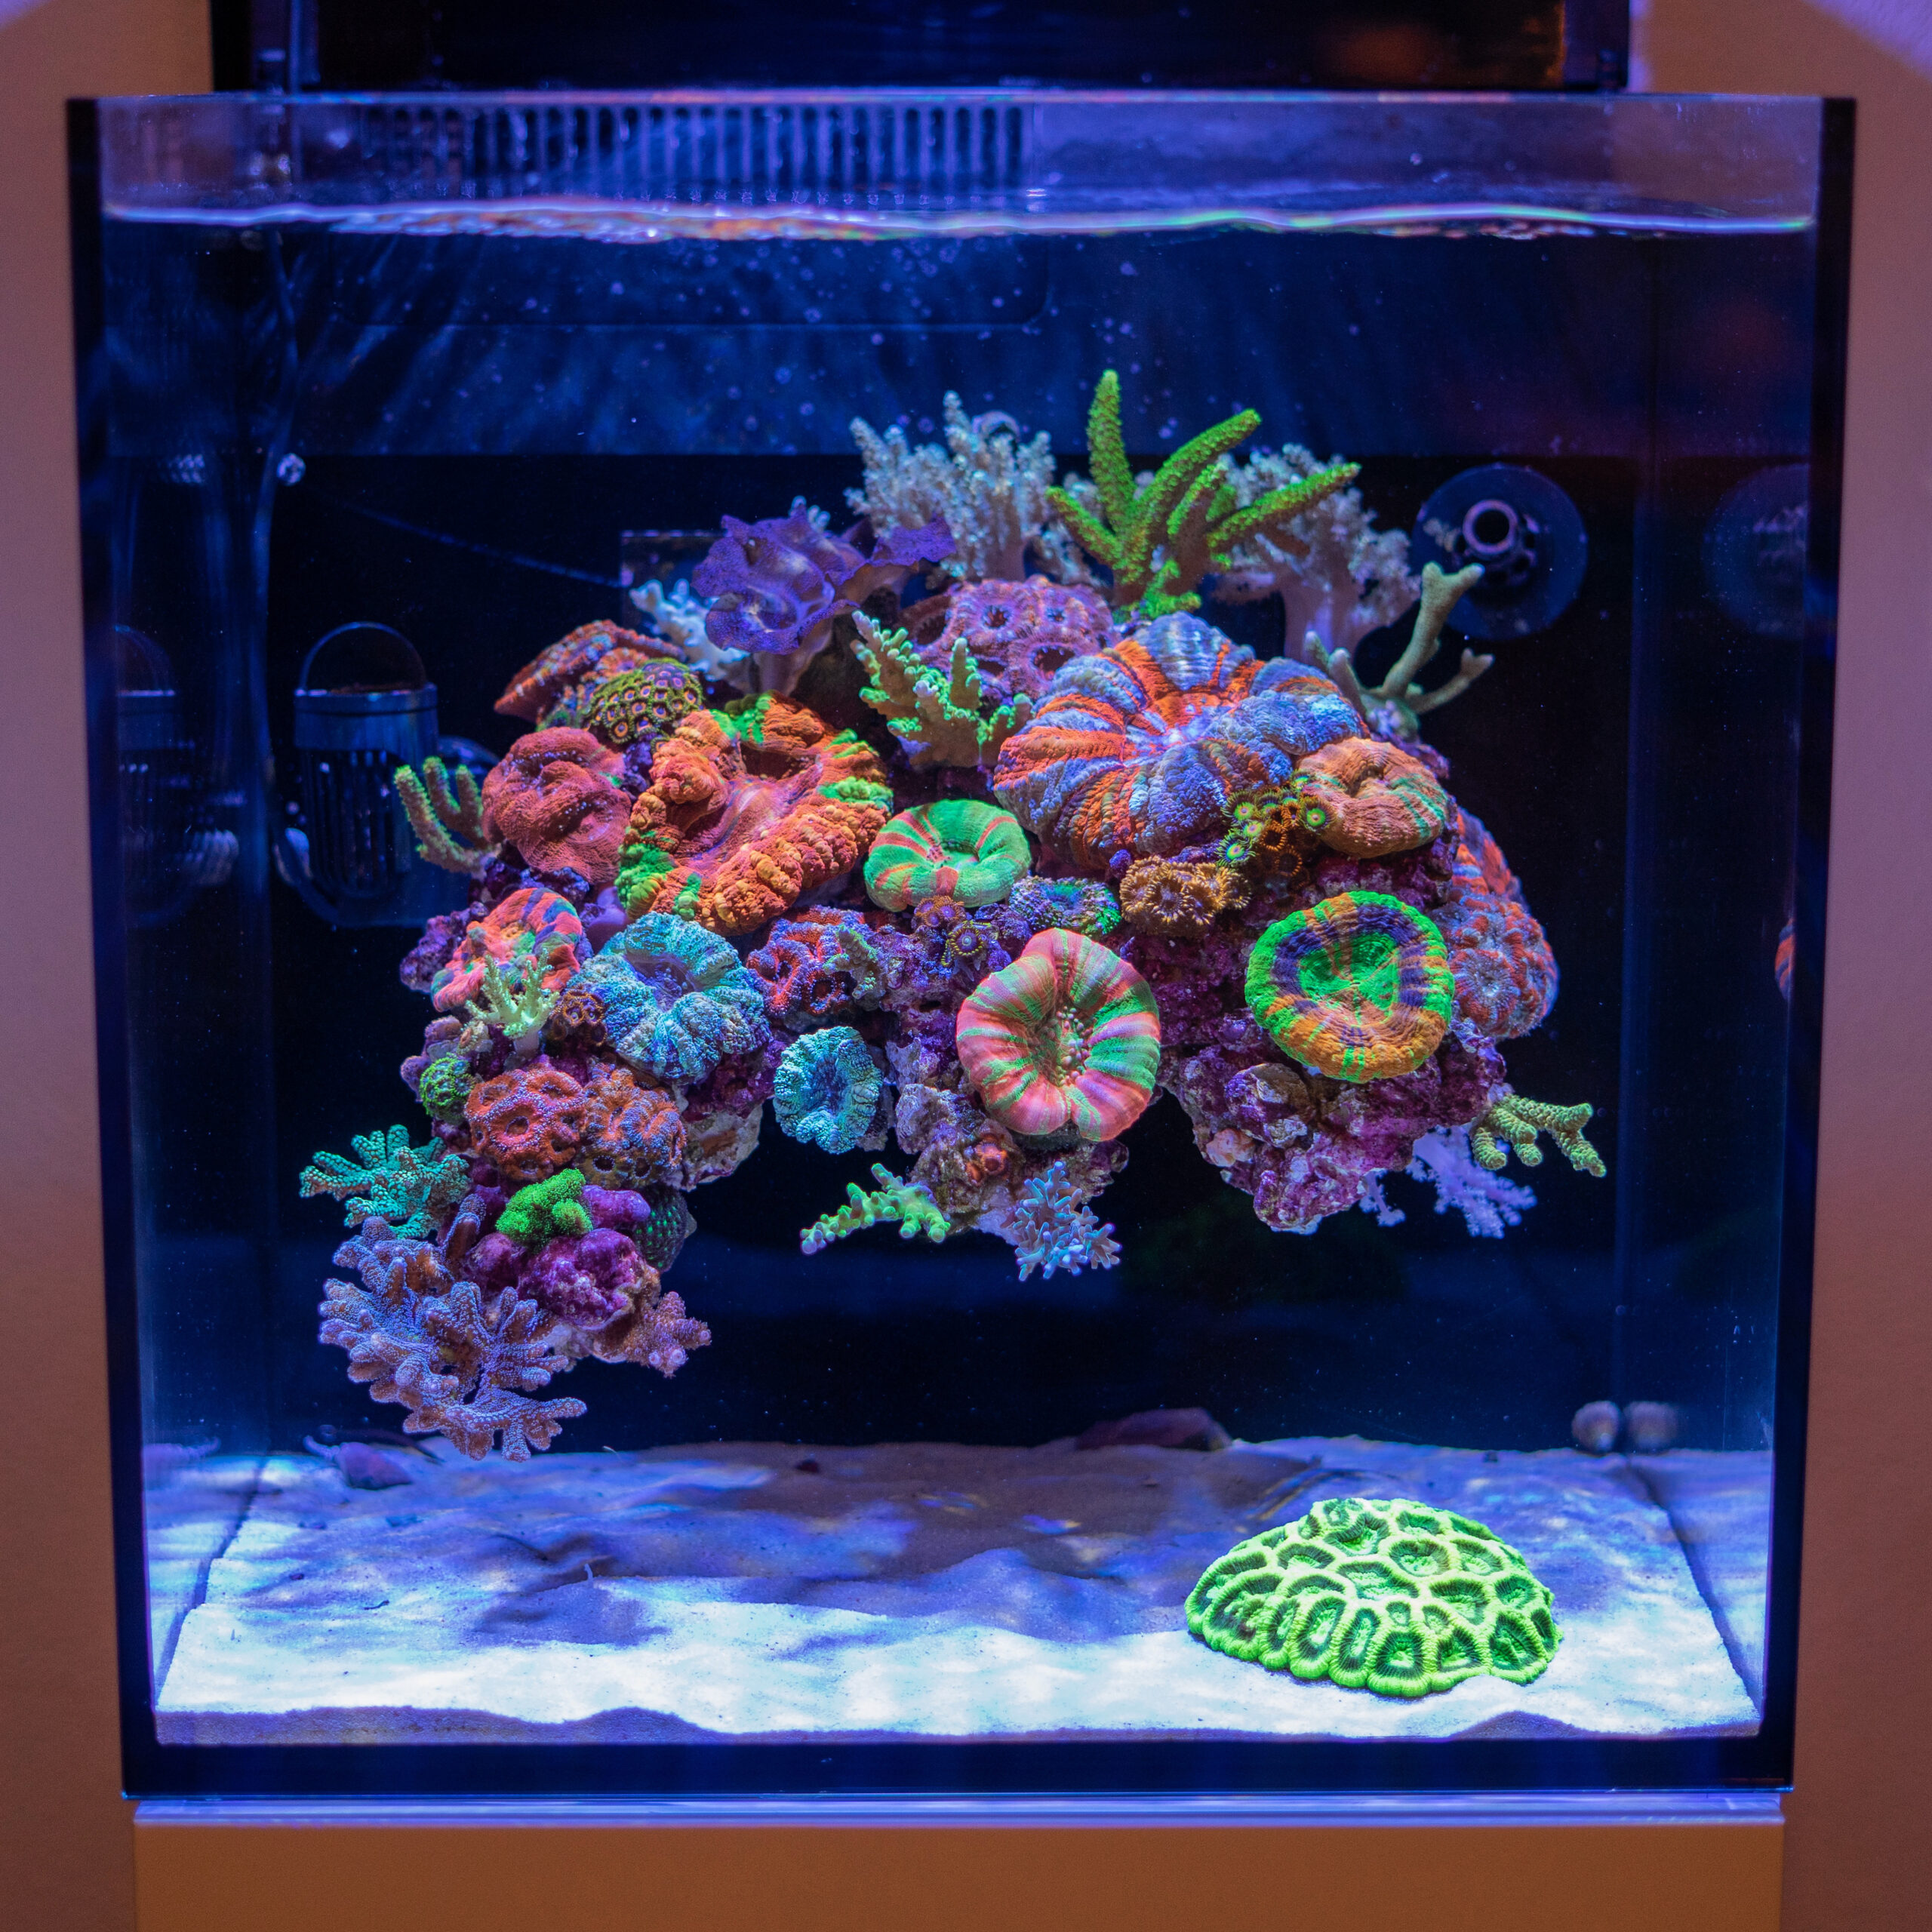
Two months ago, we showed you the floating reef created by Swiss aquarist Dave Notter (31). Today, Dave himself explains how you can create a scape like this on your own.
A floating rock formation isn’t something you can make in a flash. It takes some time, patience, and skill. But it’s perfectly possible to create a floating reef like that, too.
First and foremost, you’ll need some materials:
- An empty and dry aquarium
- A piece of acrylic large enough to hang the desired rock formation on
- A drill
- Sandpaper
- A heat gun
- A pencil or a washable marker
- Silicone suitable for aquariums
- Dry rocks
- Glue for the rocks
- Measuring tape
- A vice grip or two
- Gloves
- A cloth, paper, or something else to protect the work area
In addition, it is important to use acrylic that is at least 5 mm thick. Furthermore, silicone is not an ideal adhesive for bonding acrylic. Therefore, you must ensure there is sufficient surface area where the acrylic and glass meet. In other words, the piece of acrylic must be large enough. Before you start working, it’s also a good idea to thoroughly clean the aquarium glass and the acrylic so that the silicone will adhere properly.
1 – Bend the acrylic
The acrylic must be bent so that it forms a 90° angle with the back wall of the aquarium. Use a pencil or a washable alcohol-based marker to mark the spot where you want to bend the acrylic. Allow enough space for both the rock arrangement and the gluing surface. There may be a significant amount of weight resting on the sheet, so keep this in mind.
Place the acrylic sheet on the table so that the mark is aligned with the edge of the table. Secure the sheet with one or two vise clamps. Put on your gloves and heat the acrylic sheet at the mark. Do not force the acrylic by pulling on it too soon; instead, let it warm up gradually until it bends easily. Bend the sheet to just under 90°, as the weight of the stones will cause the sheet to sag further.
2 – The Holes
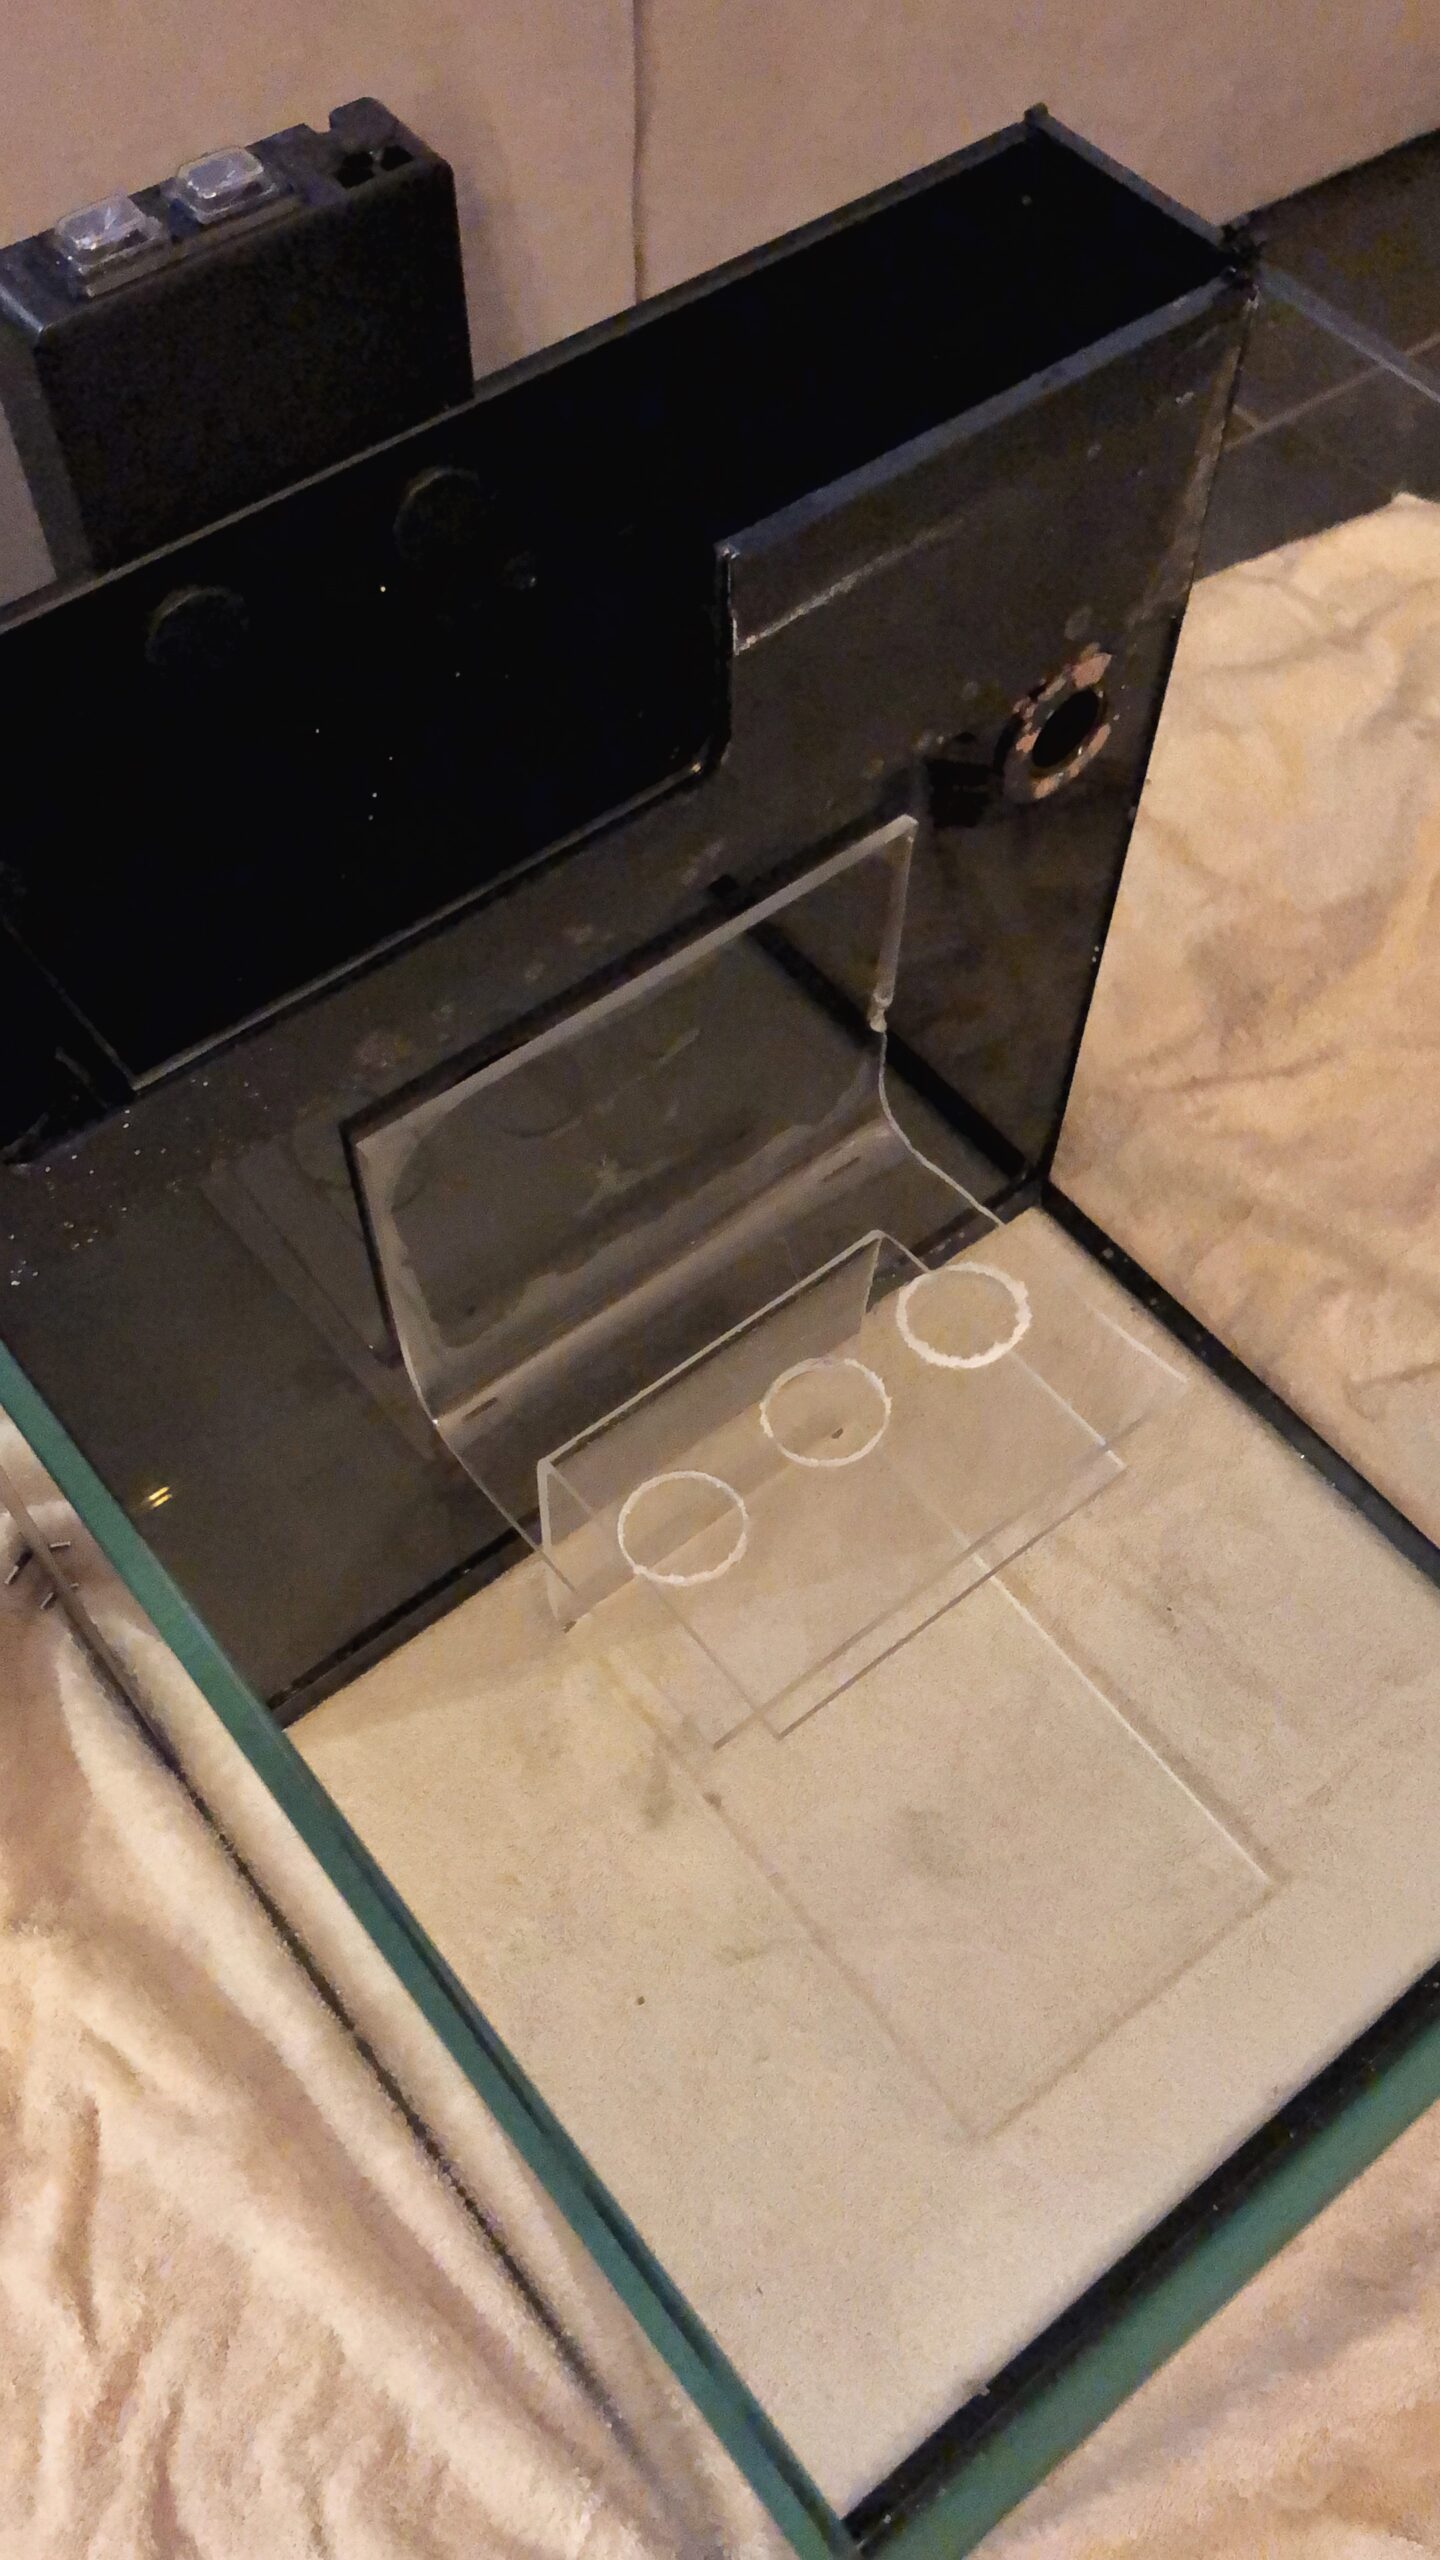
Once the acrylic sheet has cooled, we can drill holes. Place the sheet back on the table and drill a few holes in the section where the rocks will rest, using an appropriate drill bit depending on the size of the project. I personally chose a drill bit with a diameter of 5 cm. Use sandpaper to smooth out the edges.
The holes you just made serve two purposes. First and foremost, they allow water to flow behind the rocks. This reduces the likelihood that debris will accumulate there. Additionally, animals can swim through them and find hiding places.
3 – Installation
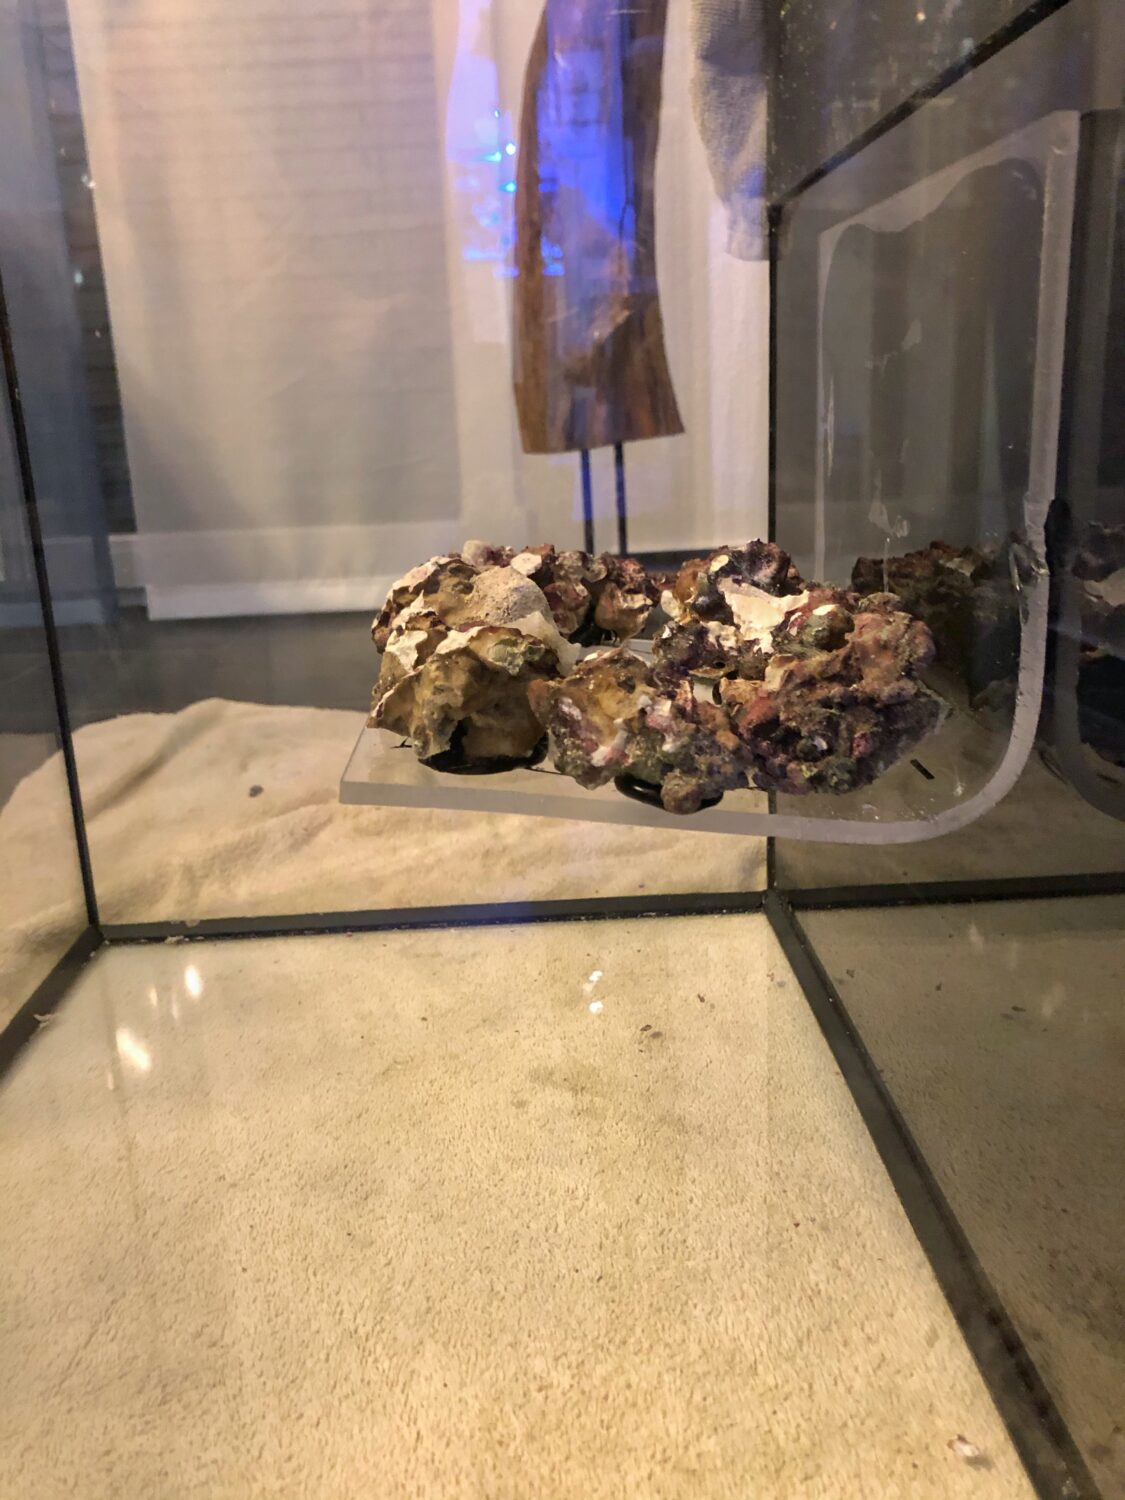
Now that we have the perfect base plate for our scape, it’s time to attach it to the back wall of the aquarium (or wherever you want to place it). First, test out the desired position. The plate must be mounted so that the side with the holes is horizontal.
Once you’re satisfied with the position, place something under the sheet to keep it in place. Use a rock, a piece of cardboard, or a box to support the sheet. Once it’s firmly in place, remove the acrylic sheet from the aquarium. Just leave the support in place.
Make sure that both the acrylic sheet and the back wall of the aquarium are completely free of dust and grease. Coat the back of the acrylic sheet (the side without holes) completely with silicone. Press the sheet against the glass in the position you just tested. Maintain pressure for a moment so that the sheet sticks to the glass, supported by the structure you just built.
Let it dry completely for 48 hours.
4 – Designing
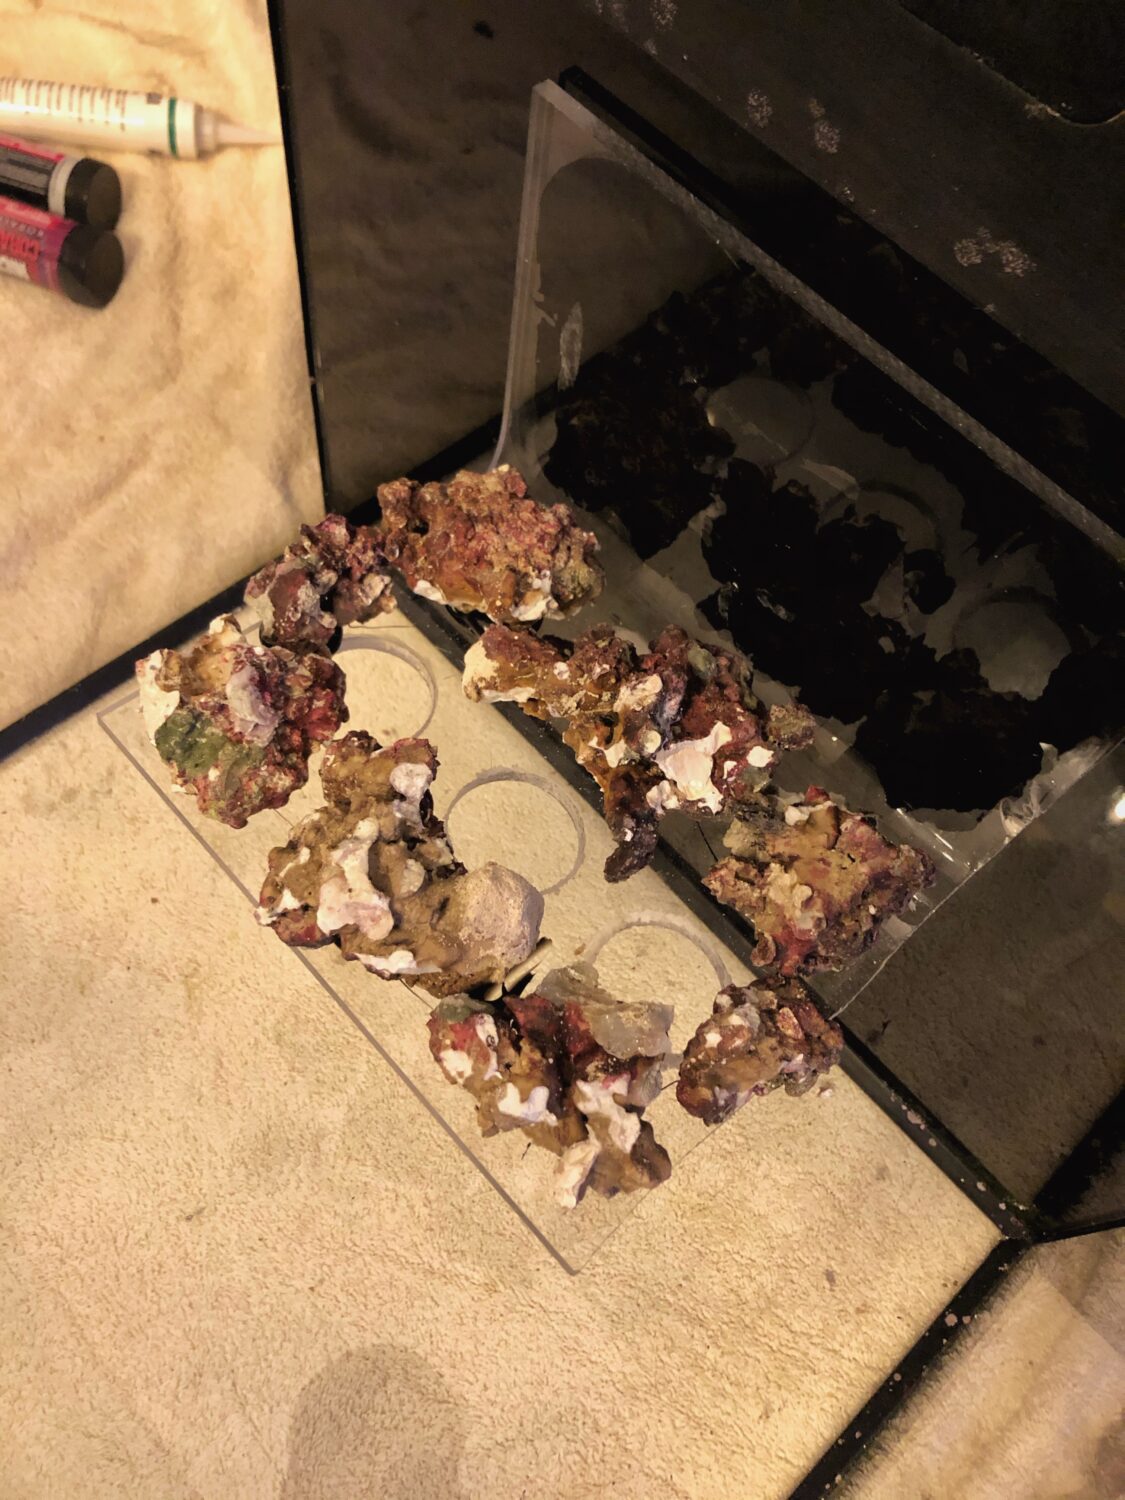
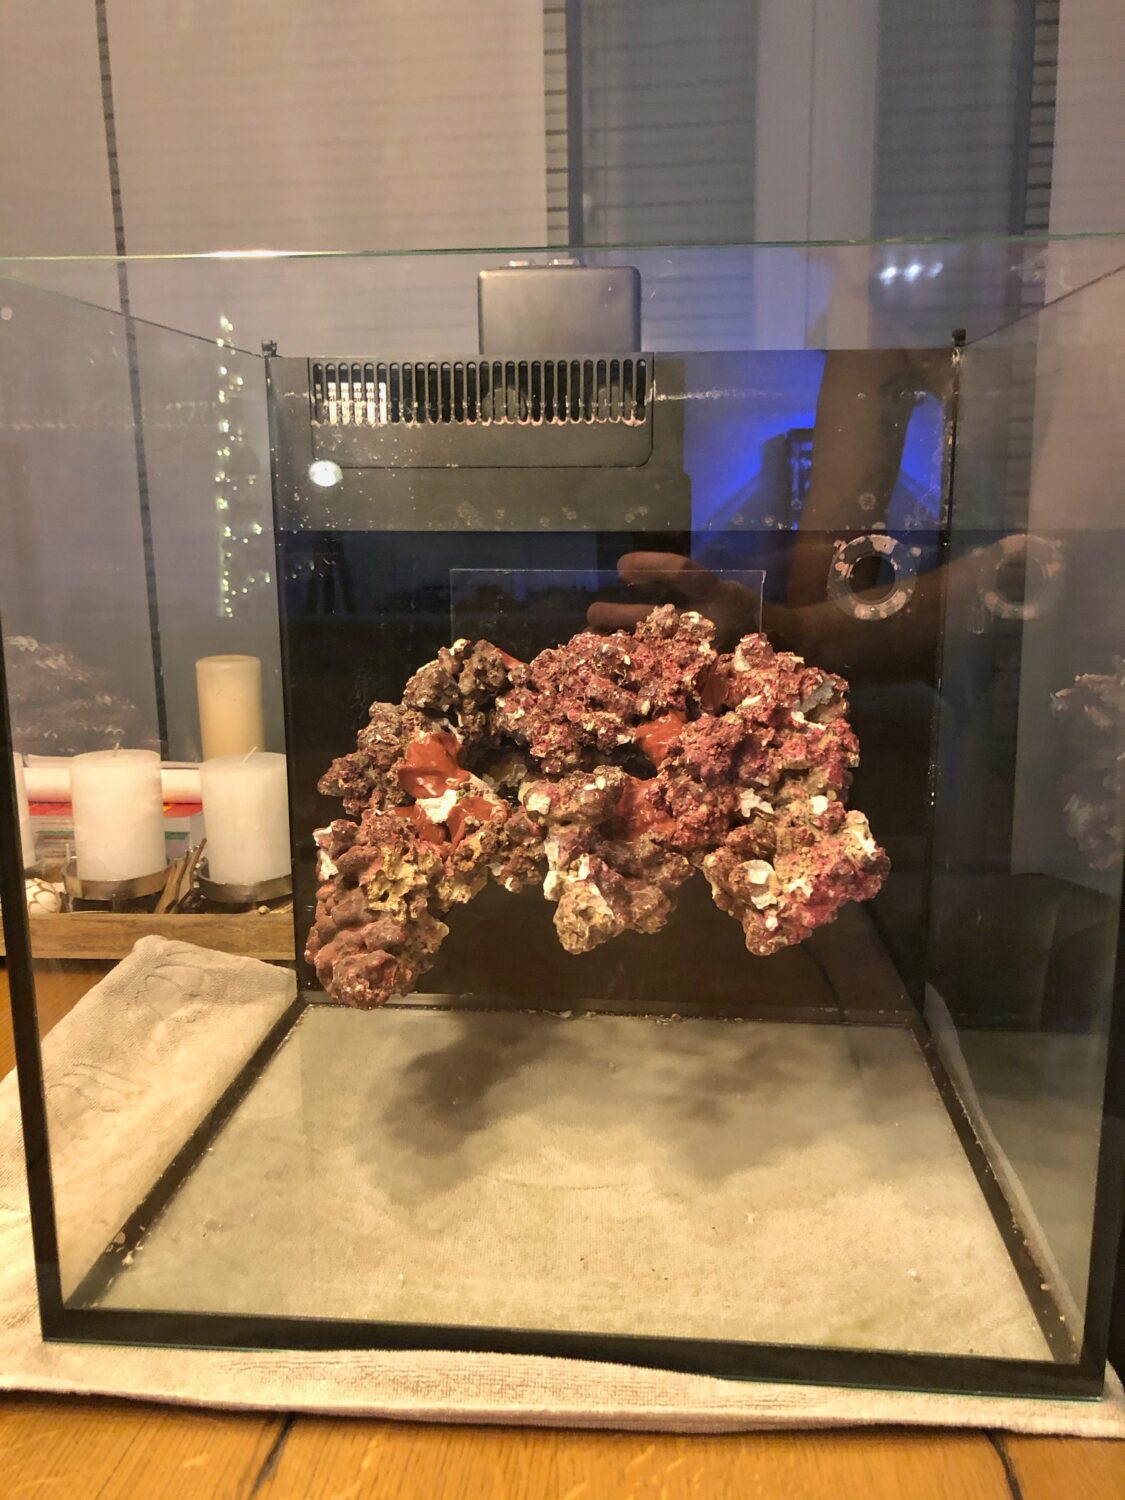
Now that the acrylic is firmly glued to the aquarium, it’s time to shape our floating reef. Glue a few smaller rocks onto the panel around the holes. Use silicone for this. These will need another 24 hours to dry.
After that day, you can add more rocks around this base. Make sure a small cave is formed around the drilled holes. Animals can take shelter here. While building the rock formation, it’s important to always keep in mind where you’ll be placing corals. That way, you won’t waste space due to a poorly planned layout. We don’t use silicone to glue these rocks; instead, we use specialized rock glue designed for aquascaping.
5 – The icing on the cake
After a little more drying time, all the rocks are firmly glued together. They now rest entirely on the back wall of the aquarium, so the support can be removed. Now it’s finally time to fill the aquarium.
The first corals can be added within a few weeks. Follow Dave Notter’s aquariums on Instagram.